How to commence pointing of masonry walls from start to finish.
1.The beginning involves use of masons hammer and chisel to shape out the stone joints to an even line.
2.Water is poured on the stones to enable smooth binding between existing stone and new mortar.
- The gaps in between are deepened and widened using a masons chisel.
- Cement sand mortar is mixed and plastered on the widened joints.
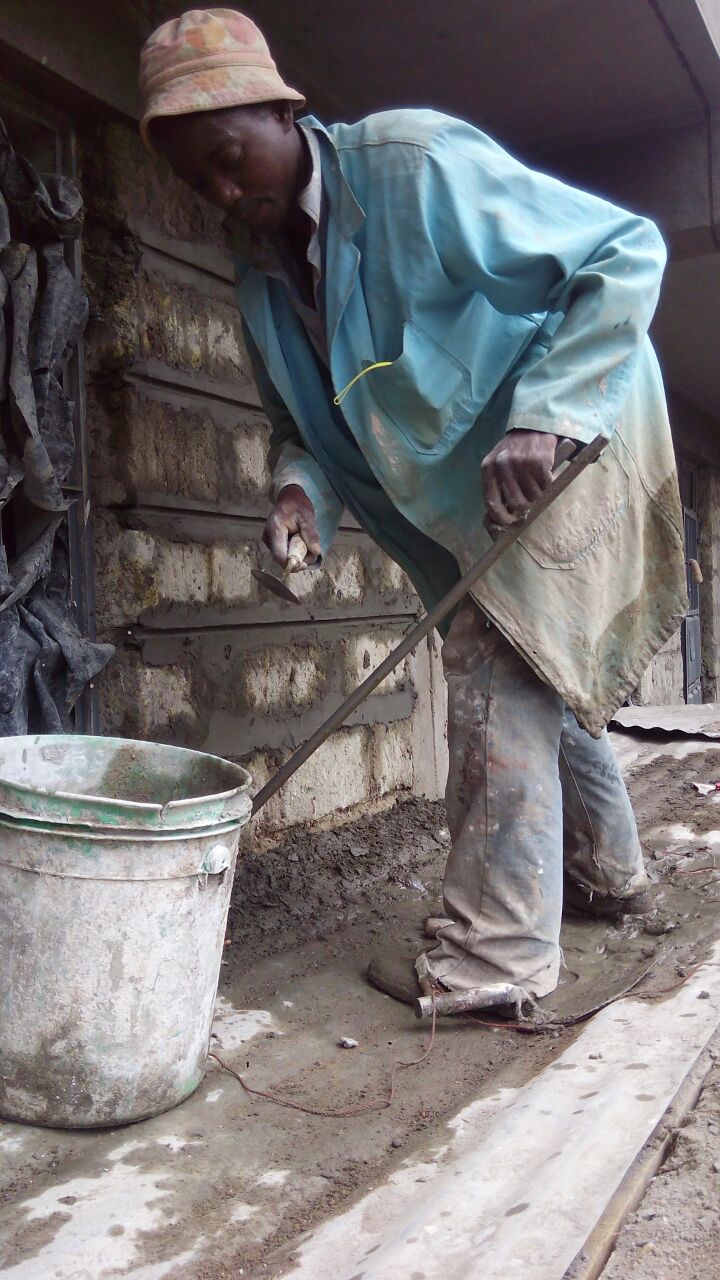
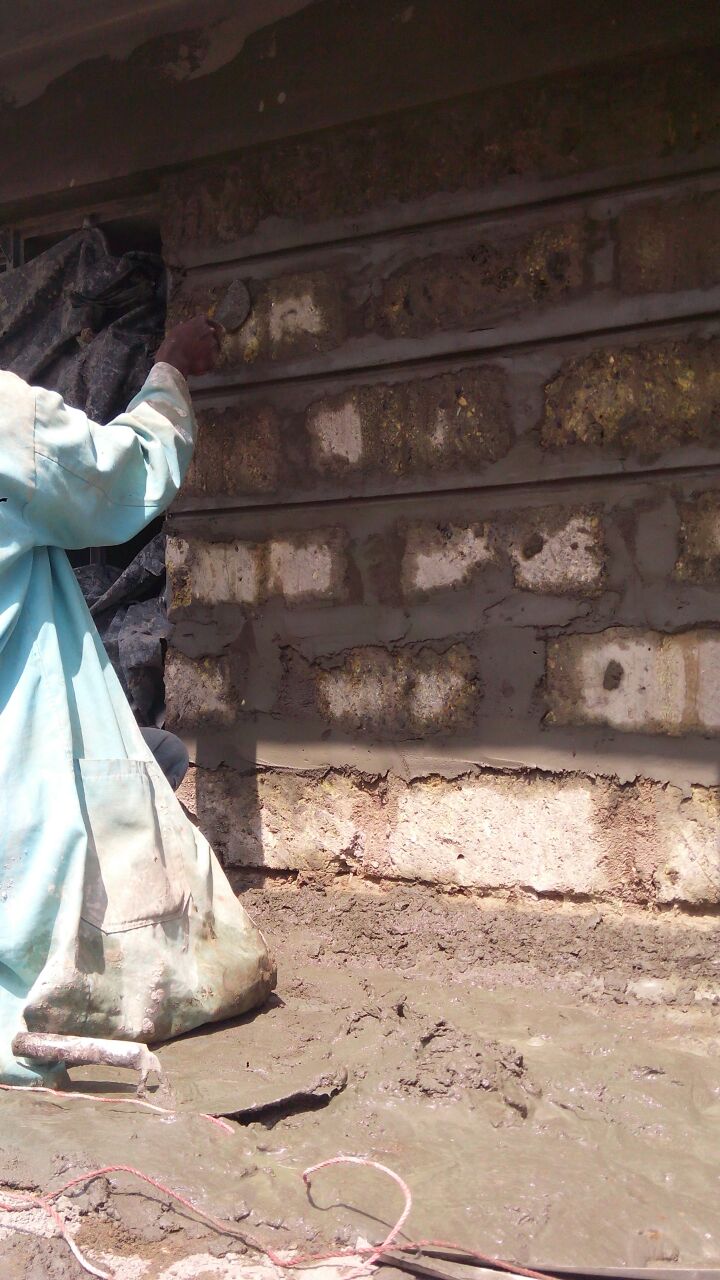
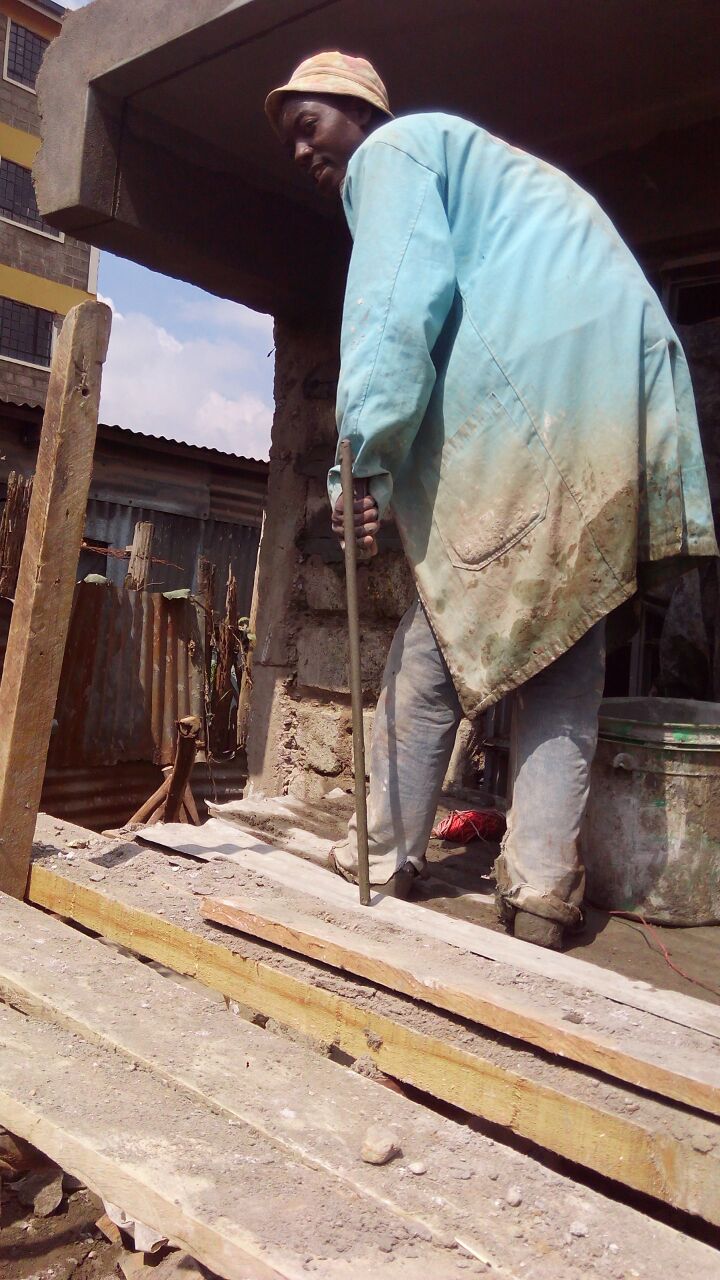
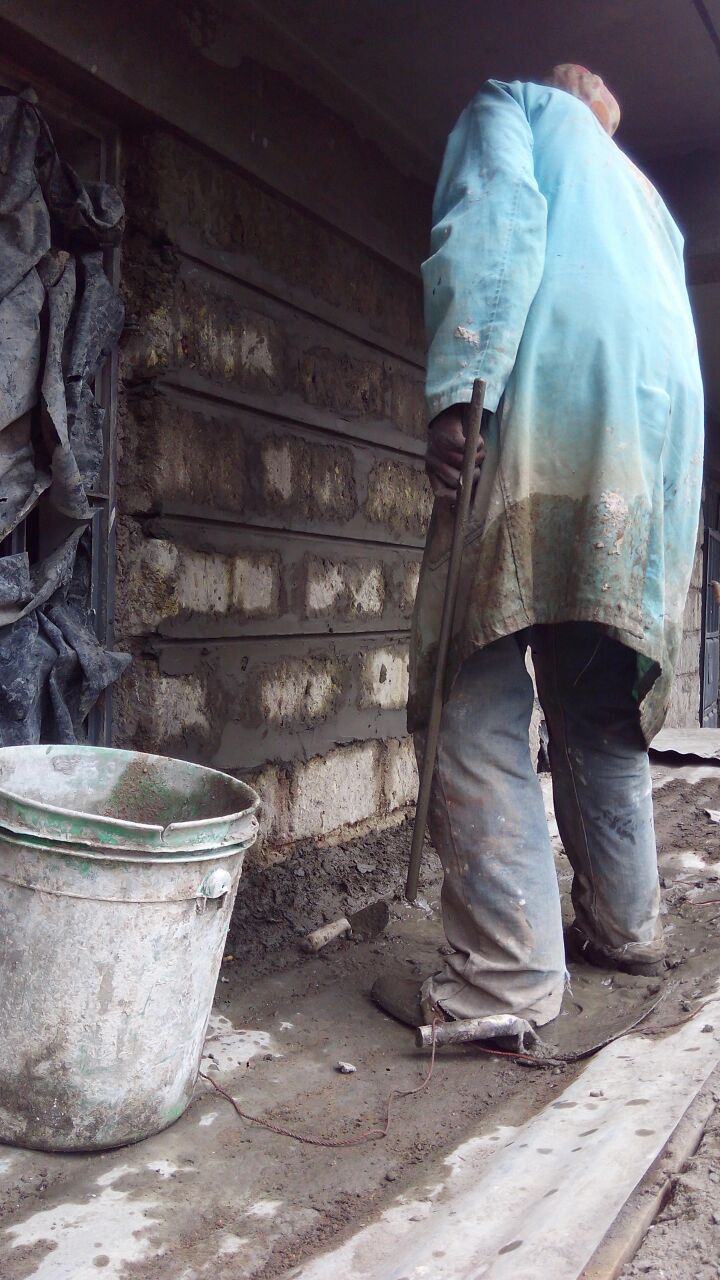
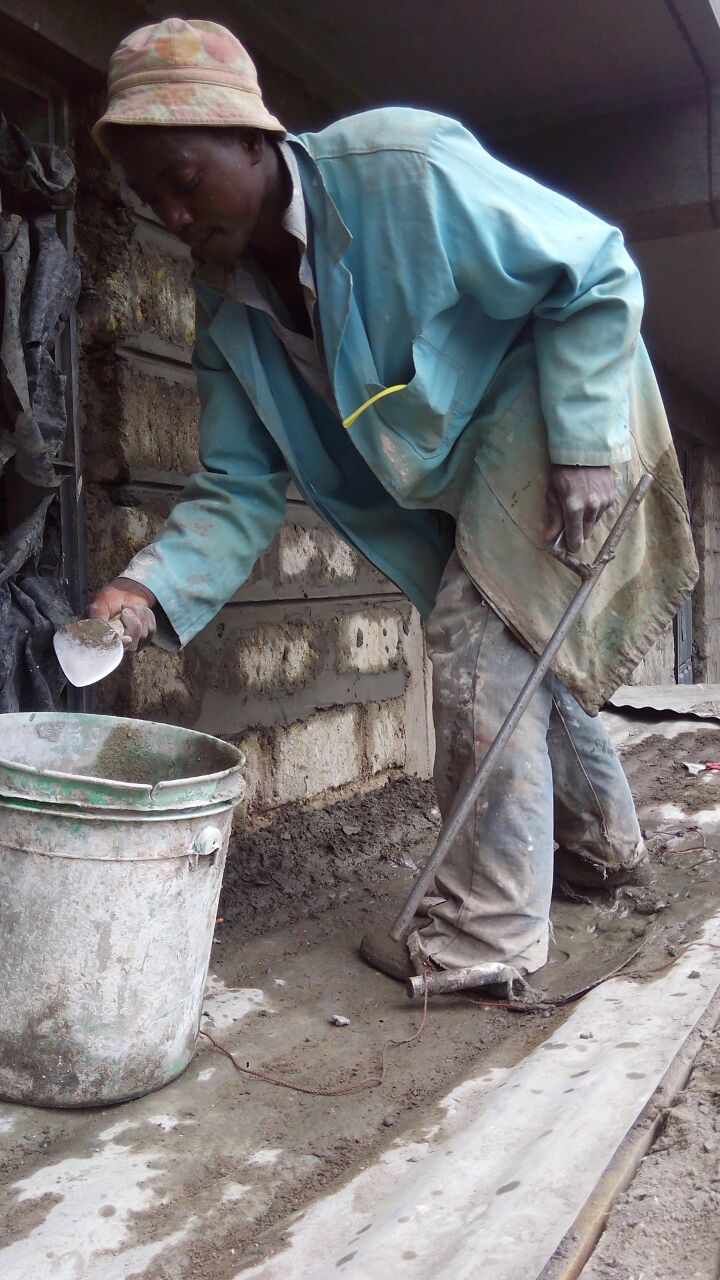
- Using a trowel, the mason then scoops the motar and pastes it in between the joint through out the line.
- A nylon string is then stuck from one end.
- The string is leveled out using spirit level to ensure its horizontal the nstuck on the other end.
- Using the trowel, the mason press the string onto the fresh motar to leave an indented marking line.
- The string is then removed and the mason now uses the pointing tool to press into the fresh mortar to make the pointing line.
- The mason does this repeatedly, following the embedded line, and using the trowel to remove excess mortar until a horizontal line is achieved.
- The same is done for vertical lines. For uneven lines eg when using mazeras or slate stone, a shorter pointing tool is used.
For cobble stone pointing, use of shorter pointing tools is needed.
For zero jointed masonry walls, a very thin pointing tool is used to achieve this.
The end result for zero jointed style is a wall that looks smooth and jointless.

Leave a Reply